How To Prep a Car For Paint – Step by Step Guide
Getting a car ready for paint isn’t just about washing and spraying. It’s a complex job that requires planning and patience. Whether you want to repaint for looks or repairs, good preparation has an impact on how long the results last. A smooth surface helps paint adhesion and stops it from chipping later. Let’s walk through the steps to get results like a pro and learn how to prep a car for paint the right way.
10 Step to Guide Prep a Car for Paint
Here are the ten steps for instructing you regarding how to prepare a car for painting:
1. Clean the Car Top to Bottom
Start by washing the whole car with car soap. This gets rid of dirt, dust, and road gunk stuck to the surface. Wash off the soap and debris with clean water. Use a microfiber cloth to dry the car so you don’t leave streaks. A clean surface is key to make the paint stick well.
Use clay to get rid of stuck particles. It’s effective on sap, tar, or dirt that won’t budge. Clay also smoothens the surface without much fuss. Rub the clay in straight lines using water to help it glide. Give the car another rinse after you finish this step.
2. Get Rid of Wax and Gunk
Wax and polish can stop paint from sticking. Use a product to remove wax for a clean slate. Put it on with a microfiber cloth moving in circles. Cover all painted areas and let it dry. This helps the new primer coat stick well to the surface.
Look for grease around door edges and trim. If you need to, use a degreaser before moving on. Grease often hides in cracks or seals. Getting rid of this gunk helps avoid problems when you paint. Make sure to wipe the surface again after you degrease it.
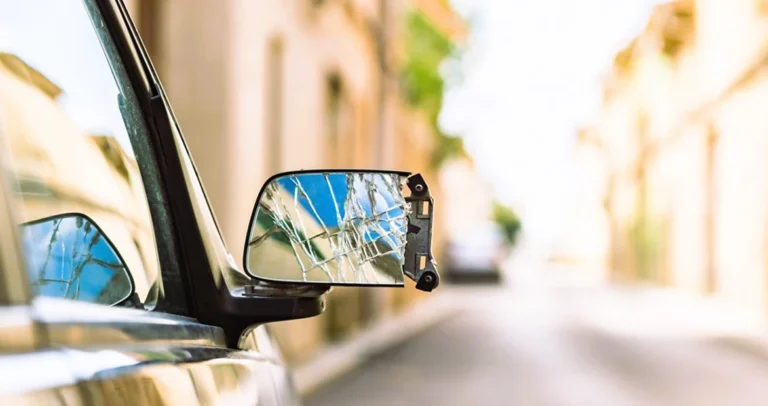
3. Take Apart Loose Car Parts
Take off parts like mirrors, trims, and headlights. This helps you reach hidden spots when painting. Use labeled bags for bolts and screws. Keep parts in order to make putting them back together easier. Taking things apart also stops overspray on those pieces.
You can also remove bumpers and badges. The cleaner the paint area, the better the outcome. More exposed area means more paint coverage. This step also stops paint from building up on edges. A bit of work here saves fixing problems later.
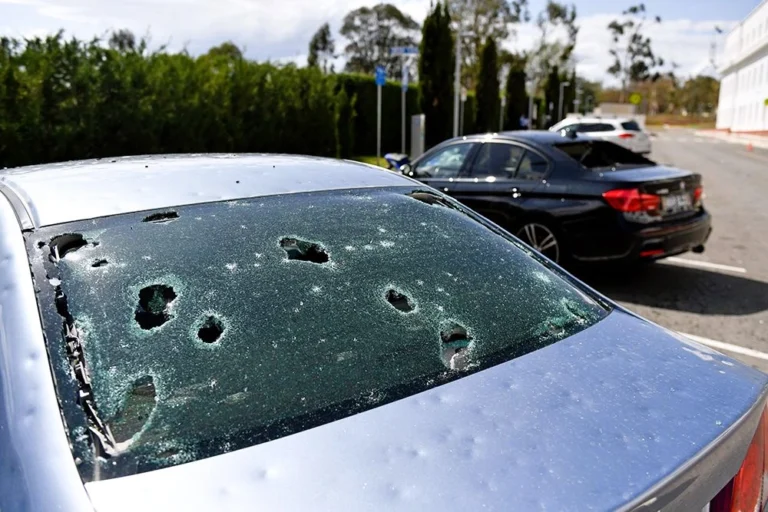
4. Sand the Car Surface
Sanding smoothens the body and removes old paint. Start with 320-grit sandpaper on rough surfaces. A sanding block helps apply even pressure. Move to 600-grit to smooth further. Keep sanding until no glossy areas are left.
Use circular or crosshatch motions when sanding. This stops swirl marks on panels. Always wear a mask so you don’t breathe in dust. Use a tack cloth to wipe off dust. Clean sanded metal holds paint better. Proper sanding technique is crucial for durable results.
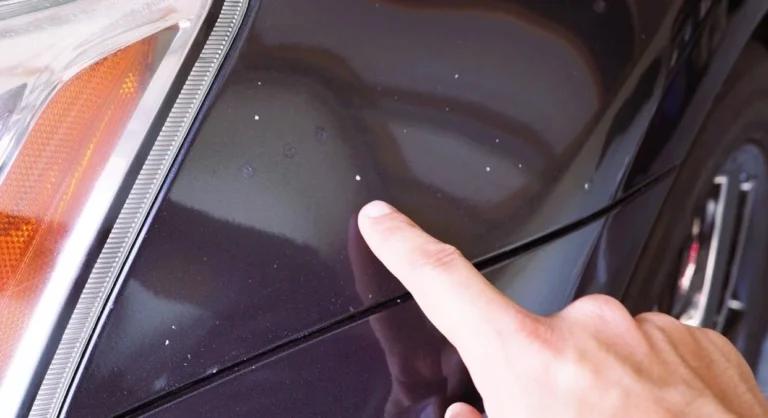
5. Fix Dents and Surface Issues
Check for dents, scratches, or low areas. Put body filler on in thin layers using a spreader. Allow it to harden based on the product’s directions. Use fine grit to sand the filler and smooth it out. The surface should look and feel flat when you touch it.
Use a guide coat to see better. Spray a light mist over the filler and sand again. This shows high or low spots. Keep sanding until the panel feels even all over. Don’t skip this step if you want a perfect base for paint.
6. Mask Off Parts That Won’t Be Painted
Masking tape along with plastic sheets serve to protect areas that will remain untouched. Apply protective coverings to windows, along with lights and tires and trim components. Use firm pressure to apply tape to prevent color from leaking through. Round edges and gaps require application of foam tape.
Masking protects your work from mistakes and shortens the overall process. Check your masked areas once again before starting your painting work. Check and secure all loose tape pieces before starting the spray process. Place plastic sheets under edges in a neat and covered manner. Don’t leave rubber seals exposed. A professional paint result becomes achievable through the implementation of clean lines.
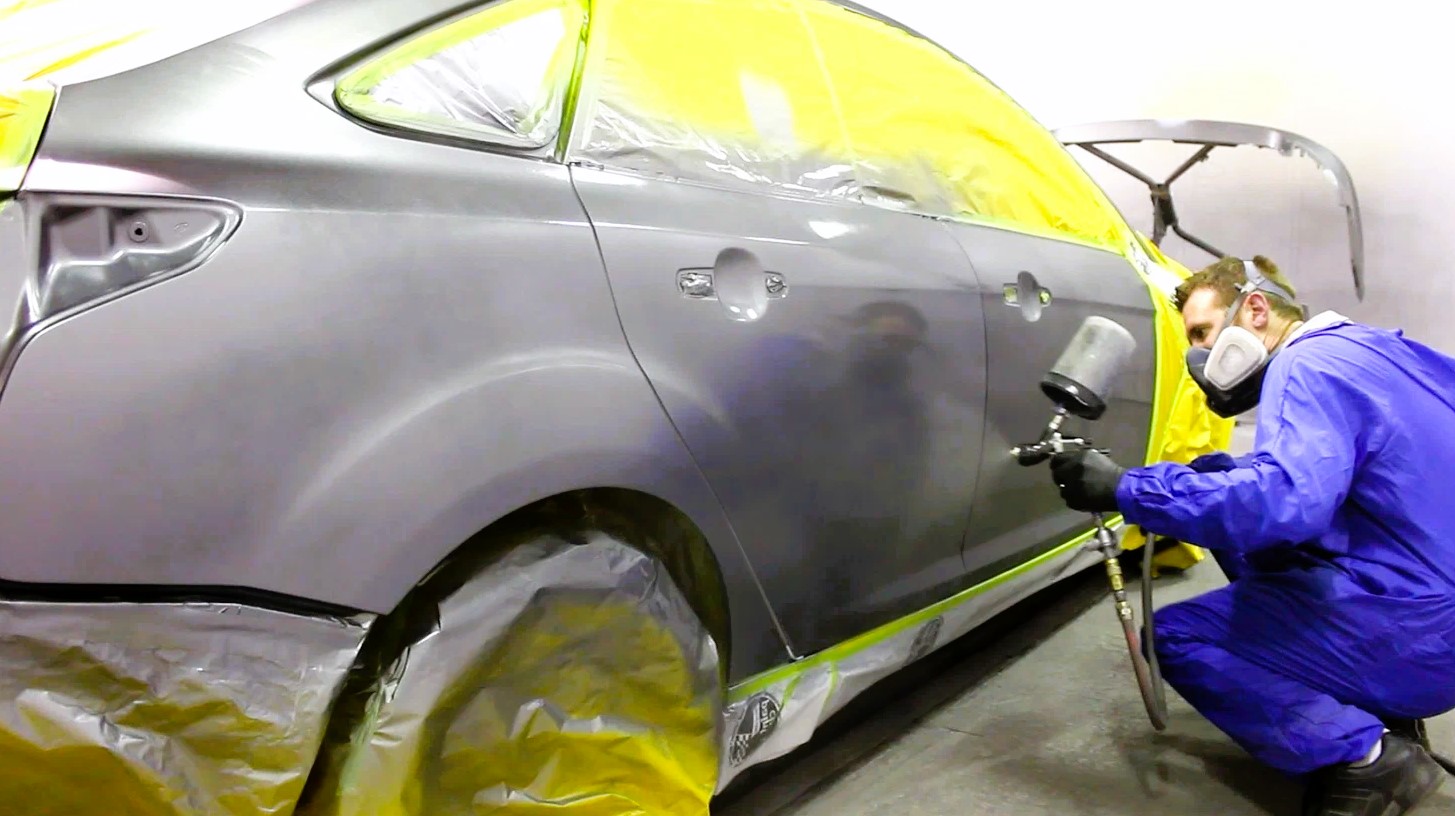
7. Apply Primer on All Panels
The purpose of applying primer coat is to make paint adhere better and protect against rust formation. Select the appropriate primer which matches the material type between metal and plastic. Prior to application, you should shake the can for two to three minutes. Use a thin, even layer of paint when spraying across the panel surface. Allow each layer of paint to dry completely before applying additional coat.
The recommended application process includes two to three coats. Multiple heavy layers should be avoided because they tend to develop cracks in the future. Position the can at 6 to 8 inches distance from the surface. Spray the can evenly during each movement. The primer needs to cure completely before you can continue with successive steps.
8. Sand the Primer Smoothly
Primer often leaves texture behind. A smooth finish becomes possible through light sanding of the surface. Gently apply 800-grit sandpaper to the surface area. The application force should be light and the surface should remain level. It is essential to remove dust by using a tack cloth.
Inspect the surface under strong illumination. Check and eliminate all irregularities from the surface at this point. A primer coat that is smooth will produce better results with the paint application. Sand until the surface feels like glass. The additional effort prevents defects from appearing in the final coat.
9. Clean the Surface Again
A complete cleaning process is required before starting the painting operation. The paint job will deteriorate rapidly if you let dust or oil come into contact with it. A wax-free cleaner together with an alcohol mixture should be used. Apply the solution with a light mist then wipe the surface with a lint-free fabric. The surface becomes free of oils together with fingerprints and all remaining residues.
Wash each section of the surface from top to bottom. Keep your hands away from all surfaces that have just received cleaning. Gloves should be worn while performing the last cleaning steps. The surface should be left to dry naturally. Inspect the paint container before you start to open it.
10. Prepare the Painting Area
Select an area which is free of dust and dry with no moisture present. Temporary booths or garages serve as the most suitable preparation area. Place protective sheets over the floor area as well as surrounding objects. The airflow needs to be limited because it causes debris movement. The painting process requires proper illumination for successful completion.
Pet animals and human occupants must stay away from the painting area. Paint fumes become dangerous to human health when ventilation systems are not present. Wear masks and gloves throughout the entire painting process. Proper airflow needs to be established for safety measures. The car stands ready for painting after completing all necessary preparations.
Extra Tips for Best Results
The professional standard results become achievable through step-by-step execution. The process requires time to complete without skipping any steps of sanding. Perform a paint test before using it for complete applications. All tools need to be placed in a dry and clean area for storage after each use. Taking photos of the disassembly process will make reassembly easier.
If you’re wondering how to prep a car for paint, following these tips ensures a smooth, high-quality result—whether you’re a hobbyist or working in an auto body shop.
Conclusion
How to prep a car for paint requires both dedication and precise work. The process of cleaning, sanding, and priming must always be performed as mandatory steps. The correct execution of all parts leads to enduring paint results. Newcomers who follow this guideline will achieve their goals. The fresh paint will transform your vehicle into a stunning appearance.